
Embroidery has become a cornerstone of branding, fashion, and creative expression. From corporate uniforms to promotional caps and personalized gifts, nothing beats the classic appeal of embroidered designs. However, before your logo can be stitched onto fabric, it must be properly digitized into a compatible format. This is where Logo to PES Conversion plays a key role; it ensures your digital design is perfectly prepared for embroidery machines like Brother and Babylock.
If you want crisp lines, accurate stitching, and colors that match your brand identity, professional logo conversion is non-negotiable. Let’s dive deeper into what Logo to PES Conversion means, why it’s essential, and how experts handle this process for flawless results.
What is Logo to PES Conversion?
In simple terms, Logo to PES Conversion is the process of turning your logo (which might be in formats like JPG, PNG, or AI) into a PES embroidery file. The PES format is widely used by Brother, Babylock, and Bernina embroidery machines.
Unlike standard image files, PES files contain detailed stitch information such as stitch direction, density, color sequence, and thread type. These details tell the embroidery machine exactly how to stitch the design on fabric.
Without proper conversion, your logo won’t stitch correctly, resulting in uneven lines, thread breaks, or distorted shapes. That’s why professional digitizers handle PES conversion with precision and expertise.
Why Logo to PES Conversion Matters for Embroidery Quality
When you send your logo to an embroidery shop, they can’t simply upload a JPG or PNG and start stitching. Machines can’t interpret regular images; they need digitized instructions.
Here’s why converting your logo into a PES file is so important:
- Accuracy in Stitching: The conversion defines where each stitch should be placed, ensuring accurate outlines and clean fills.
- Smooth Machine Operation: PES files are optimized for specific machine formats, preventing misreads or skipped stitches.
- Consistent Branding: Proper digitizing maintains brand consistency your logo will look the same across shirts, caps, or bags.
- Reduced Production Errors: Well-digitized PES files minimize thread breaks, puckering, and design distortions.
- Professional Finish: The final embroidery looks crisp, clean, and visually appealing exactly as you intended.
Step-by-Step Process of Logo to PES Conversion
Professional digitizers follow a structured process to ensure your logo translates perfectly into stitches. Let’s take a look at the typical steps:
1. Analyzing the Logo
The first step involves examining the logo’s details colors, complexity, gradients, and shapes. Some designs may need simplification for embroidery since very small text or intricate gradients don’t stitch well.
2. Preparing the Artwork
Digitizers clean up the artwork using graphic design tools to ensure every edge is smooth and every color area is clearly defined.
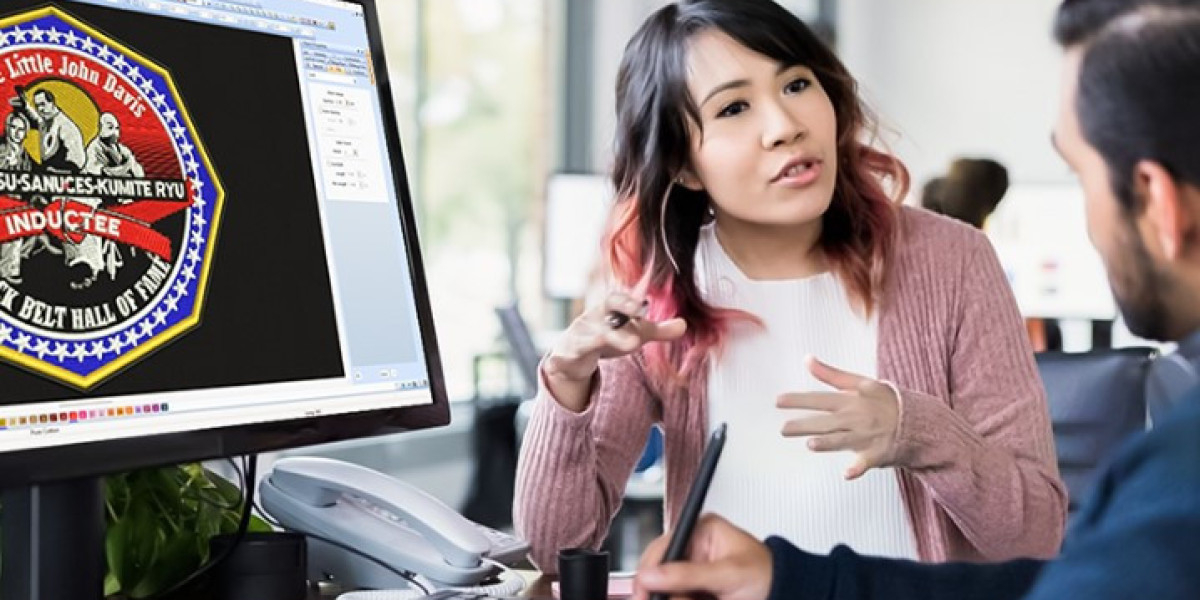
3. Digitizing the Logo
This is where the real magic happens. Using embroidery software, the digitizer manually plots stitches, decides the stitch type (satin, fill, run), sets underlay, and adjusts stitch angles for depth and clarity.
4. Setting Color Changes and Thread Codes
Each color in the design is assigned a thread code (like Madeira or Isacord), ensuring the embroidery machine uses the right shades.
5. Saving as a PES File
Finally, the design is exported in PES format, ready for use on compatible embroidery machines.
6. Test Stitching
Before final delivery, professionals test the design on fabric to verify stitch quality, density, and registration. Any necessary adjustments are made to ensure flawless stitching.
Common Mistakes in PES Conversion (and How to Avoid Them)
Even a small error in digitizing can ruin an embroidery design. Here are common issues that occur during amateur conversions and how professionals prevent them:
Common Mistake | Impact | Professional Solution |
Ignoring Fabric Type | Causes puckering or loose stitches | Adjust stitch density and underlay for fabric |
Overlapping Stitches | Thread buildup and uneven texture | Layer sequencing and stitch trimming |
Wrong Stitch Type | Jagged edges or distorted fills | Assign proper stitch type per element |
Poor Color Transitions | Inconsistent appearance | Optimize color stops and blending |
Ignored Pull Compensation | Design distortion on fabric | Add precise compensation during digitizing |
Professional services ensure all these issues are avoided, giving you a flawless PES file that runs smoothly on your machine.
Benefits of Professional Logo to PES Conversion
When you hire experts for logo conversion, you’re investing in consistency, quality, and reliability. Here’s why it’s worth every penny:
- High-Quality Stitching: Each detail is digitized for clarity and precision.
- Time Efficiency: Save hours of trial and error with ready-to-stitch PES files.
- Compatibility: Files are optimized for your specific embroidery machine model.
- Error-Free Results: Professionals minimize common issues like skipped stitches or misalignment.
- Scalability: Designs can be resized without losing quality, perfect for various apparel and merchandise.
Whether you’re creating company uniforms, promotional gear, or personalized gifts, professional PES conversion guarantees smooth embroidery production and premium results.
Who Needs Logo to PES Conversion?
This service is valuable for:
- Small Businesses: To brand uniforms, tote bags, and merchandise.
- Embroidery Shops: To ensure consistent stitching across bulk orders.
- Sports Teams: For embroidered team logos and player names.
- Schools & Institutions: For uniforms and custom apparel.
- Personal Crafters: For personal projects and DIY embroidery.
Basically, anyone who wants their artwork to look professional and polished on fabric will benefit from logo digitizing in PES format.
Tips for Getting the Best PES Conversion Results
To ensure your logo turns out perfect, follow these simple tips:
- Provide a High-Resolution Image: Clear images make the digitizing process smoother and more accurate.
- Specify Fabric Type: Knowing whether it’s cotton, denim, or polyester helps adjust stitch settings.
- Mention Machine Brand: This ensures your file is 100% compatible.
- Request a Sample Stitch: Test the design before mass production.
- Communicate Preferences: Share color codes, size requirements, and thread brand preferences.
Why Choose Professional Digitizers Over Free Tools
While free online converters might seem convenient, they often generate poor-quality results. These tools rely on automation rather than human expertise. The output can result in:
- Unbalanced stitches
- Misaligned text
- Random color changes
- Poor density control
On the other hand, a professional digitizer carefully maps every stitch, making sure the final result looks clean, smooth, and ready for production.
If embroidery is part of your business or branding, investing in professional PES file conversion ensures your logo maintains its integrity and beauty across every application.
The Importance of File Testing Before Production
Even the best digitized design needs a quick test run before full-scale production. This helps verify that the PES file performs as expected on your specific machine and fabric type. Professionals always provide a test-stitch result or proof image, allowing you to see exactly how your logo will appear when embroidered.
Final Thoughts
Converting your logo into a PES file isn’t just a technical step, it's the foundation for creating polished, professional embroidery that enhances your brand’s image. A perfectly digitized PES file ensures accuracy, durability, and aesthetic appeal across every stitch.
For businesses, crafters, and embroidery shops looking for precision and reliability, Digitizing Buddy offers expert Logo to PES Conversion services at affordable rates. With skilled digitizers, quick turnaround times, and attention to detail, they make sure every design you submit transforms into a flawless, machine-ready file that delivers stunning embroidery results every time.